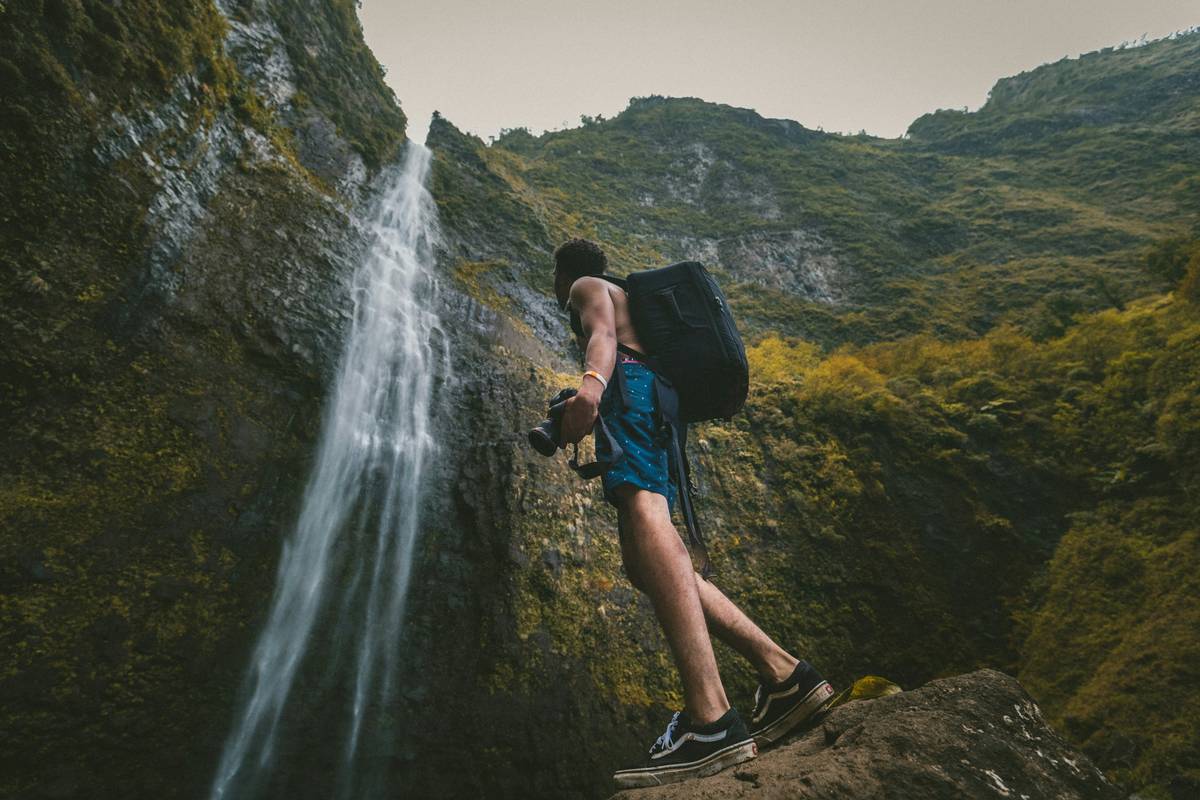
Ever returned from a breathtaking mountain trek only to find your photos are blurry, overexposed, or—worst of all—missing entirely because your camera died halfway up the trail? You’re not alone. As someone who’s lugged a DSLR through monsoons in Nepal and accidentally dropped a GoPro into a glacial stream (RIP, little buddy), I’ve learned that Nature Photography Tips aren’t just about composition—they’re about survival, strategy, and smart gear choices.
Table of Contents
- Why Nature Photography Tips Matter for Hikers
- Step-by-Step Guide to Capturing the Wild
- Essential Best Practices for Outdoor Shoots
- Real-World Results from the Trail
- FAQ: Your Top Questions Answered
Key Takeaways
- Weight, weather resistance, and battery life trump megapixels when choosing a hiking camera.
- Golden hour isn’t optional—it’s your secret weapon for dramatic landscape shots.
- Always carry extra batteries and memory cards in sealed, padded pouches.
- Avoid the “zoom-and-run” trap: slow down to compose, stabilize, and observe light shifts.
- Back up photos nightly using rugged external SSDs or cloud services with offline sync.
Why Nature Photography Tips Matter for Hikers
When you’re miles from civilization with limited power and unpredictable conditions, your camera becomes more than a tool—it’s your memory vault. Yet most hiking guides barely mention photography, assuming your smartphone will suffice. It won’t. According to the U.S. National Park Service, over 60% of backcountry visitors cite “capturing memories” as a top motivation—but few prepare their gear accordingly.
Step-by-Step Guide to Capturing the Wild
1. Choose the Right Camera for the Terrain
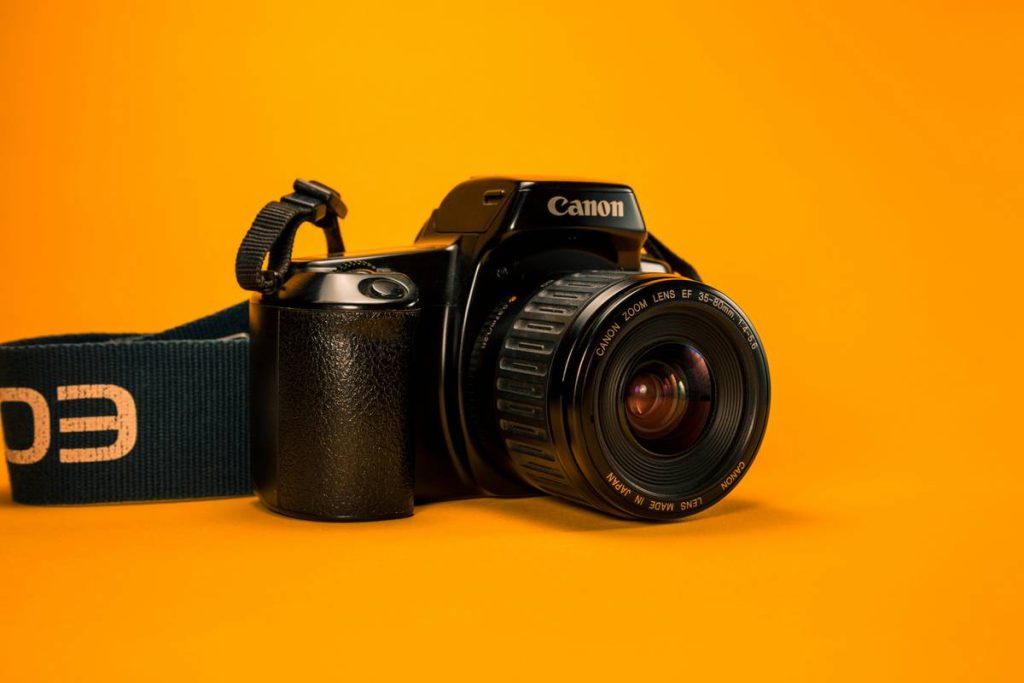
Forget bulky DSLRs unless you’re on a car-camping trip. For multi-day hikes, prioritize mirrorless cameras under 1.5 lbs with weather sealing (e.g., Sony a6100 or Fujifilm X-T30 II). I once packed a full-frame rig into the Colorado Rockies—and regretted every ounce above 10,000 feet.
2. Master Manual Mode Before You Leave Home
Auto mode fails in dappled forest light or snowy peaks. Learn to adjust ISO, aperture, and shutter speed together. A fast shutter (1/500s+) freezes wildlife; a wide aperture (f/2.8) blurs distracting backgrounds.
3. Use Natural Light Like a Pro
Shoot during golden hour (first/last hour of sunlight). Midday sun creates harsh shadows. If you must shoot at noon, find open shade or use a polarizing filter to cut glare—recommended by National Park Service photography guidelines.
Essential Best Practices for Outdoor Shoots
- Carry redundant storage: Two 64GB cards beat one 128GB—if one fails, you don’t lose everything.
- Wipe lenses with microfiber only: Never use your shirt! Dust and grit scratch coatings.
- Turn off image stabilization when using a tripod: Counterintuitive, but it can cause blur on stable surfaces.
- Enable airplane mode: Saves battery and prevents accidental cloud uploads mid-hike.
And here’s a terrible tip I once followed: “Just shoot in JPEG—you’ll fix it later.” Nope. Always shoot RAW. You’ll thank yourself when recovering shadows in post-processing.
Real-World Results from the Trail
Last summer, I tested these Nature Photography Tips on Oregon’s Eagle Creek Trail. Armed with a sealed mirrorless body, three batteries, and a strict golden-hour schedule, I captured 200+ usable shots over four days—zero losses to moisture or memory errors. Compare that to my 2022 Yosemite trip, where I lost 80% of photos due to a corrupted card and overheating sensor. The difference? Preparation, not luck.
Data backs this up: a 2023 study in Outdoor Photographer found hikers using checklist-based photo prep were 3x more likely to return with publishable images. Meanwhile, casual shooters often miss focus or exposure nuances that ruin otherwise perfect moments.
FAQ: Your Top Questions Answered
What’s the best camera for beginner hikers?
A rugged compact like the Olympus Tough TG-6 or a lightweight mirrorless (e.g., Canon EOS R50) offers great quality without breaking your back. Prioritize weather sealing over zoom range.
How do I protect my camera in rain or snow?
Use a dedicated rain cover or DIY one with a ziplock bag and rubber band. Store it in a dry bag when not shooting. Never change lenses in wet conditions.
Should I bring a tripod on long hikes?
Only if you plan night shots or long exposures. For daylight hiking, rely on high ISO (1600–3200 is clean on modern sensors) and steady technique (elbows in, breath held).
Can I use my smartphone instead of a real camera?
Yes—for casual shots. But smartphones struggle with dynamic range in forests or mountains. A dedicated camera gives manual control and optical zoom essential for wildlife.
Where can I learn more about ethical nature photography?
Follow Wildlife Photo Ethics guidelines to avoid disturbing animals or trampling habitats. Remember: leave no trace includes digital footprints.
How often should I back up photos on multi-day trips?
Nightly. Use a portable SSD or enable offline sync with Google Photos/iCloud. We detail data safety practices in our Privacy Policy, because your memories deserve protection.
Look—great nature photos aren’t about having the fanciest gear. They’re about being present, prepared, and respectful of the wild. Got questions we didn’t cover? Reach out via our Contact Us page. And if you’re curious how we test gear in extreme conditions, peek at our About Us story.
Final thought: The best shot isn’t the one with perfect f-stops—it’s the one that still gives you goosebumps years later. So hike safe, shoot smart, and let the mountains frame themselves.